
Girl Scouts Cookie Recipes
-
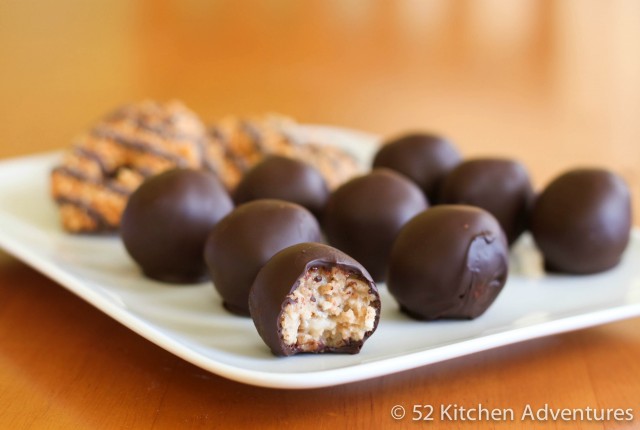
Samoas Truffles
Toasted coconut and caramel truffles smothered in dark chocolate. Read more…
-
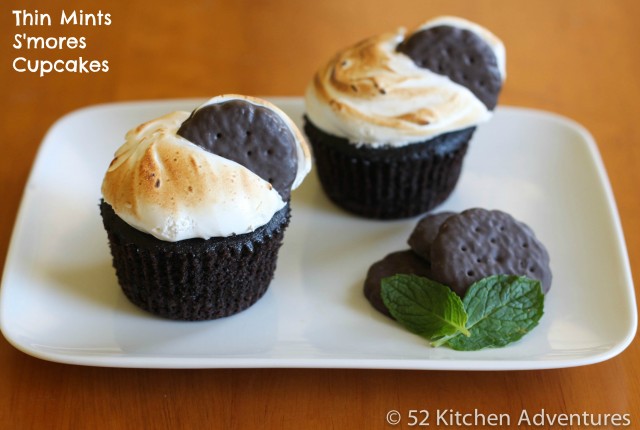
Thin Mints S’mores Cupcakes
Thin Mints cupcakes topped with homemade marshmallow fluff frosting and a mini Thin Mints s’more. Read more…
Drink Recipes
-
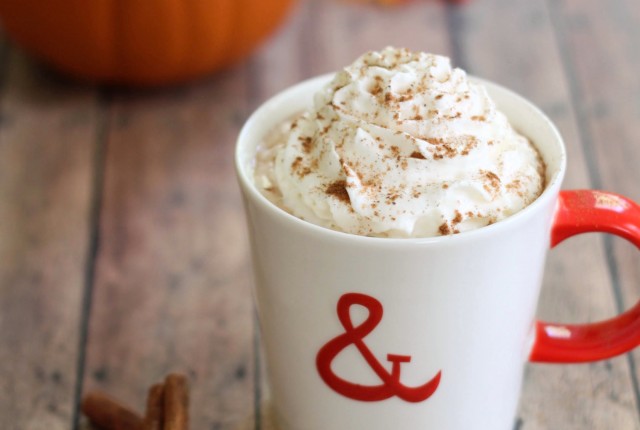
Pumpkin Spice Mocha
Ditch the expensive pumpkin coffee drinks and make a healthier version at home! This pumpkin spice mocha is even better than the latte you’re used to. Read more…
-
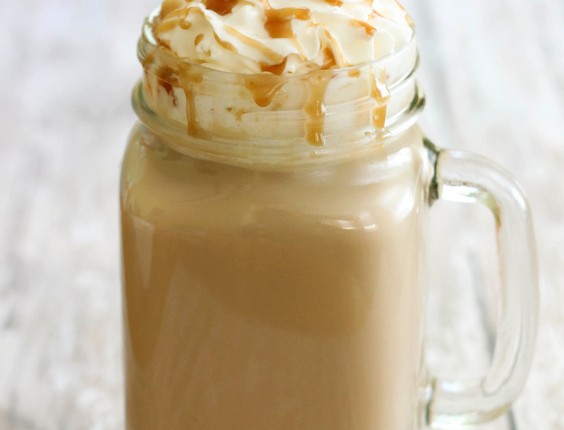
Biscoff Caramel Latte
Biscoff (cookie spread) + 7 min DIY caramel = an easy, decadent homemade latte recipe. Read more…
Cupcake Recipes
-
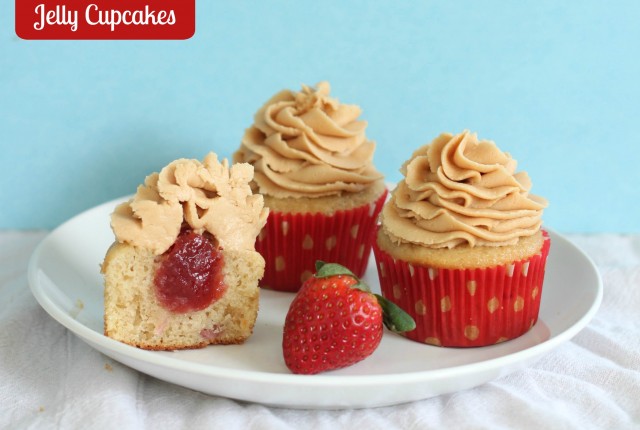
Peanut Butter and Jelly Cupcakes
All the flavors of a classic PB&J in a delicious cupcake! Read more…
-
Thin Mints S’mores Cupcakes
Thin Mints cupcakes topped with homemade marshmallow fluff frosting and a mini Thin Mints s’more. Read more…
Cookies
-
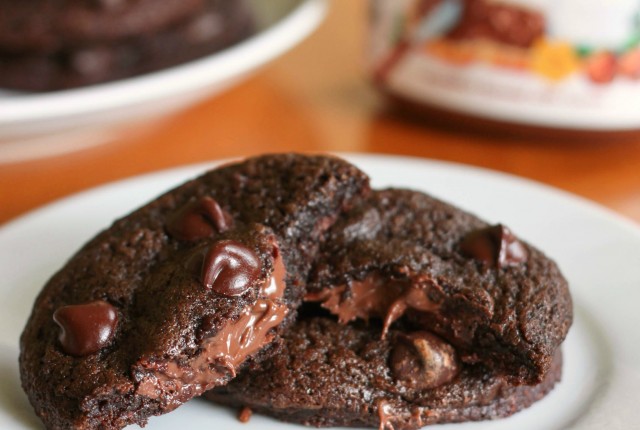
Nutella Stuffed Chocolate Cookies
Chocolate cookies filled with Nutella. Need I say more? Read more…
-
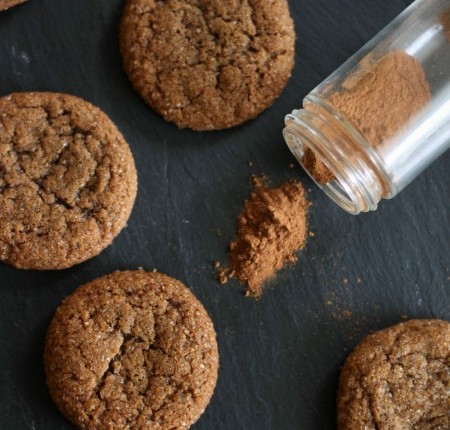
Soft Spiced Molasses Cookies
The softest cookies, filled with lots of spice and rolled in sugar for a nice crunch. Read more…